스프링 웹 MVC - 2 (스프링 부트 활용 - 6)
1. ThymeLeaf
동적으로 컨텐츠를 생성해서 응답으로 보내야 하는 경우 템플릿 엔진을 사용
1) 테스트 생성
@RunWith(SpringRunner.class)
@WebMvcTest(SampleController.class)
public class SampleControllerTest {

    @Autowired
    MockMvc mockMvc;

    @Test
    public void hello() throws Exception {
        mockMvc.perform(get("/hello"))
                .andExpect(status().isOk())
                .andDo(print())
                .andExpect(view().name("hello"))
                .andExpect(model().attribute("name", is("hongchan")))
                .andExpect(content().string(containsString("hongchan")));
    }
}
2) SampleController 생성
@Controller
public class SampleController {

    @GetMapping("/hello")
    public String hello(Model model) {
        model.addAttribute("name", "hongchan");
        return "hello";
    }
}
3. hello.html 작성
<!DOCTYPE html>
<html lang="en" xmlns:th="http://www.thymeleaf.org">
<head>
    <meta charset="UTF-8">
    <title>Title</title>
</head>
<body>
<h1 th:text="${name}">Name</h1>
</body>
</html>
이렇게 테스트 코드를 작성하여, 렌더링 된 뷰의 내용까지 확인할 수 있는데,
타임리프는 서블릿 컨테이너와 독립적인 엔진이기 때문에 가능함 (jsp는 불가능)
2. HtmlUnit
- HTML 템플릿 뷰 테스트를 보다 전문적으로 하자
- 위와 비슷하지만 좀 더 HTML에 특화된 테스트가 가능
1. 의존성 추가
<dependency>
   <groupId>org.seleniumhq.selenium</groupId>
   <artifactId>htmlunit-driver</artifactId>
   <scope>test</scope>
</dependency>
<dependency>
   <groupId>net.sourceforge.htmlunit</groupId>
   <artifactId>htmlunit</artifactId>
   <scope>test</scope>
</dependency>
2. 테스트 코드 작성
@RunWith(SpringRunner.class)
@WebMvcTest(SampleController.class)
public class SampleControllerTest {

    @Autowired
    WebClient webClient;

    @Test
    public void hello() throws Exception {
        HtmlPage page = webClient.getPage("/hello");
        HtmlHeading1 h1 = page.getFirstByXPath("//h1");
        assertThat(h1.getTextContent()).isEqualTo("hongchan");
    }
}
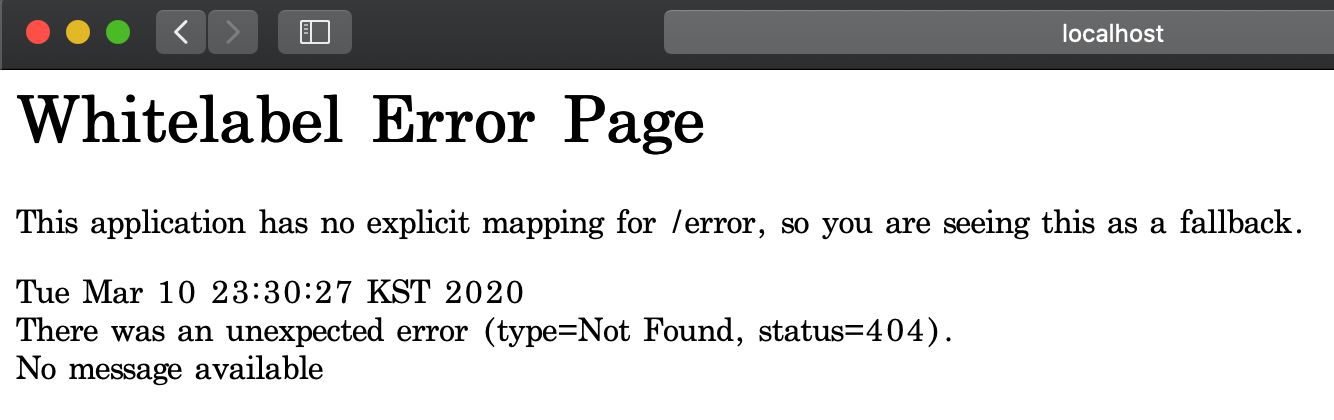
3. ExceptionHandler
에러 페이지를 커스텀화 할 수 있음
- @ExceptionHandler
@Controller
public class SampleController {

    @GetMapping("/hello")
    public String hello() {
        throw new SampleException();
    }

    @ExceptionHandler(SampleException.class)
    public @ResponseBody AppError sampleError(SampleException e) {
        AppError appError = new AppError();
        appError.setMessage("Hongchan ERROR");
        appError.setReason("Something happened");
        return appError;
    }
}
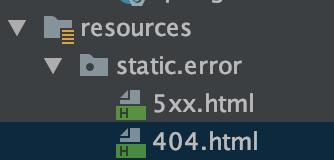
- 커스텀 에러 페이지
상태 코드 값에 따라 에러 페이지 보여주기
4. Spring HATEOAS
- HATEOS란?
서버는 리소스의 정보를 제공할 때 리소스와 연관되어있는 링크를 같이 전달하고,
클라이언트는 관련된 링크 정보를 바탕으로 리소스에 접근
- 스프링 부트에서는 의존성만 넣어주면 쉽게 지원 가능
1) hateoas 의존성 추가
2) SampleController 작성
@RestController
public class SampleController {

    @GetMapping("/hello")
    public EntityModel<Hello> hello() {
        Hello hello = new Hello();
        hello.setPrefix("Hey,");
        hello.setName("hongchan");

        EntityModel<Hello> helloEntityModel = new EntityModel<>(hello);
        helloEntityModel.add(linkTo(methodOn(SampleController.class).hello()).withSelfRel());

        return helloEntityModel;
    }
}

5. CORS
- Origin? URI 스키마(http, https) + hostname(naver.com) + 포트(8080)
- SOP? 하나의 Origin이 또 다른 Origin을 호출할 수 없음
- CORS? SOP를 우회하기 위한 표준 기술, 서로 다른 Origin 끼리 Resources를 Share할 수 있음
스프링 부트가 CORS 기능을 사용할 수 있는 빈 설정 등을 자동으로 해줌
첫 번째 방법) @CrossOrigin(origins = "http://localhost:18080)
두 번째 방법) WebMvcConfigurer 의 addCorsMappings 을 사용
인프런 백기선님 '스프링 부트’ 강의를 듣고 정리한 내용입니다.